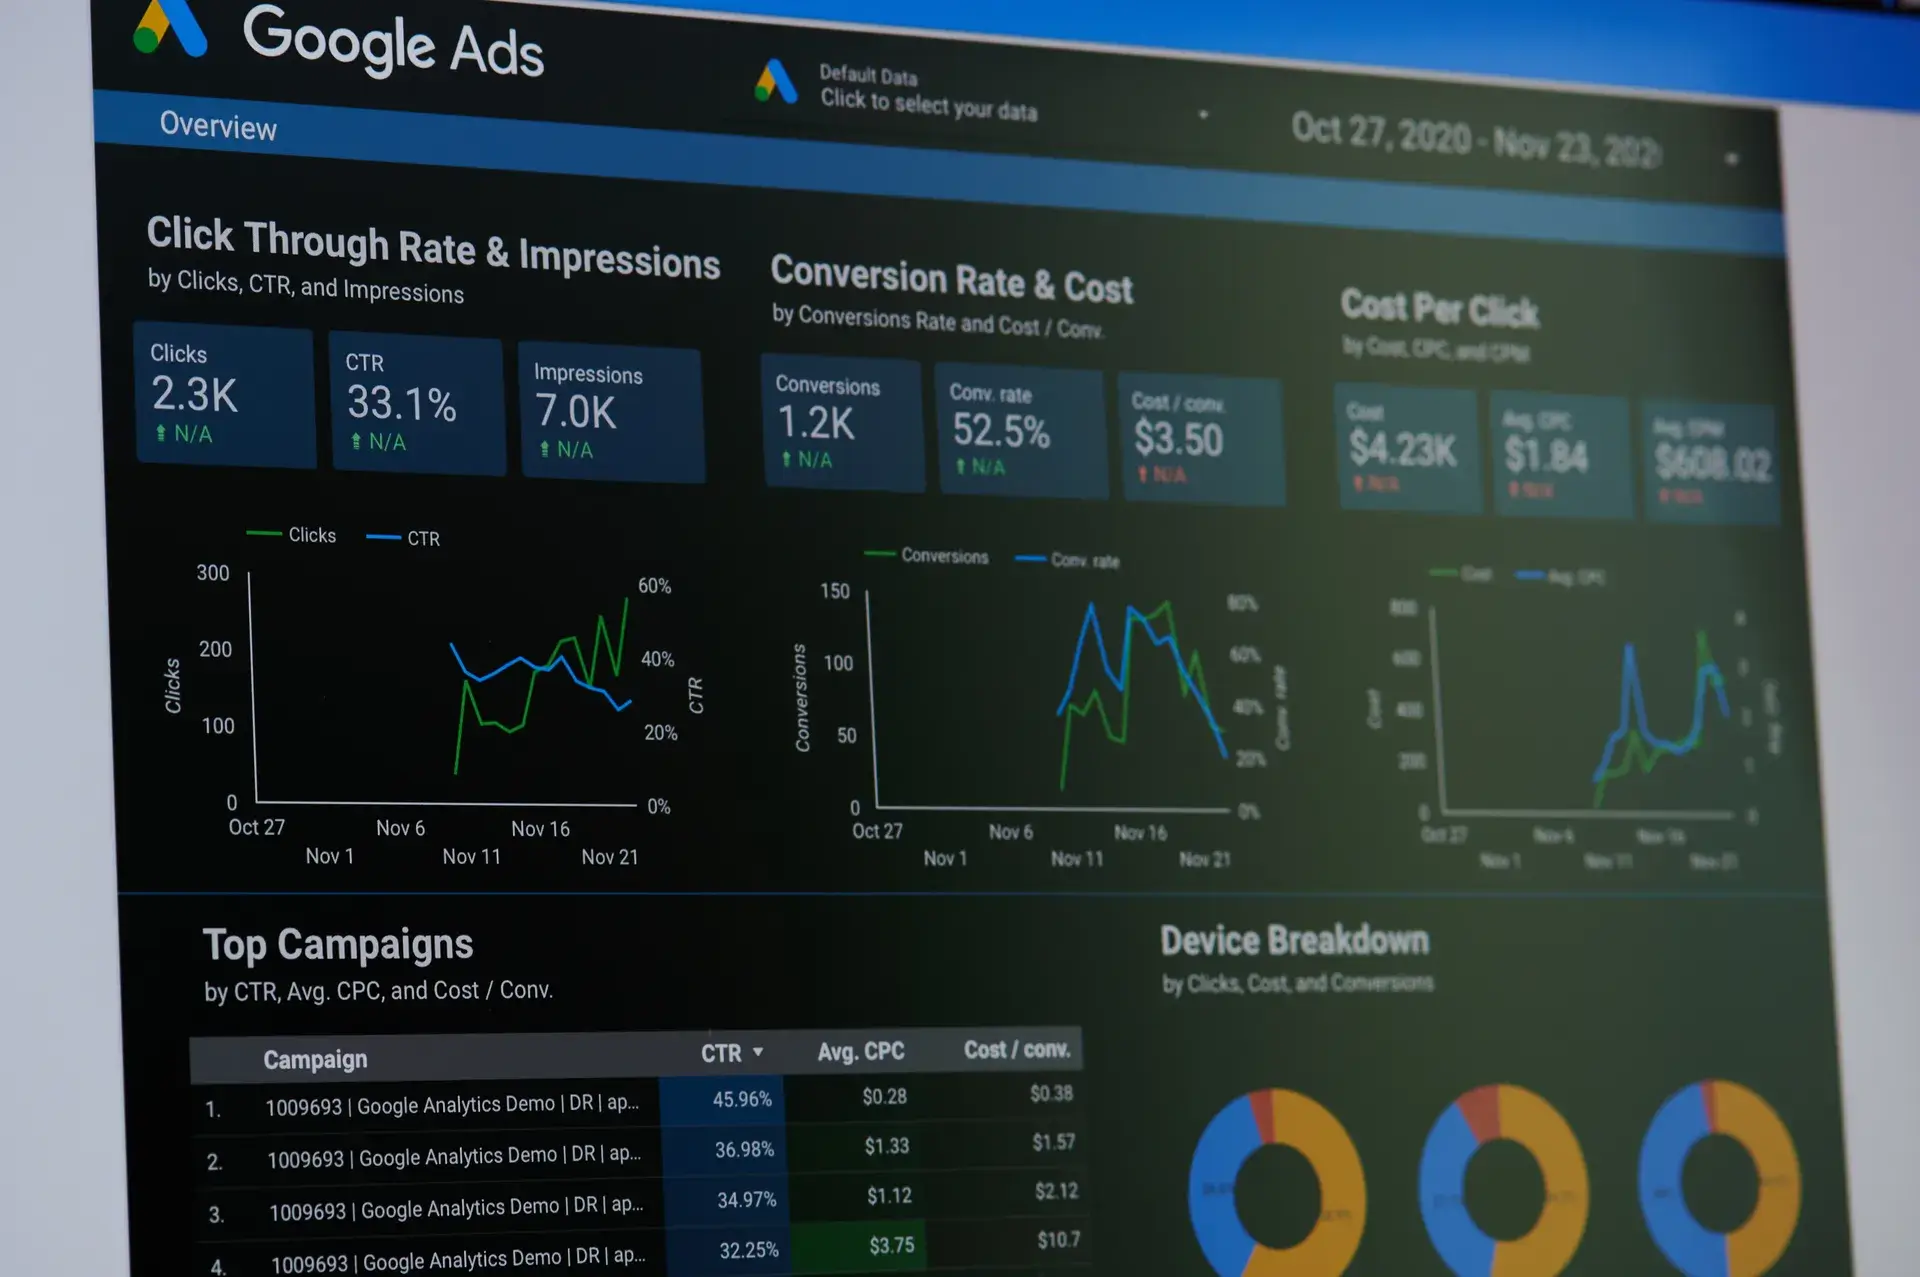
Understanding Google Ads conversion tracking is essential for measuring your campaign's effectiveness and maximizing ROI. In this comprehensive guide, we'll cover everything you need to know about setting up and optimizing conversion tracking in Google Ads. You'll learn how to track conversions effectively, analyze data, and leverage insights to improve your advertising performance.
Why Conversion Tracking Matters
Conversion tracking allows you to measure actions that users take after clicking on your ads, such as making a purchase, filling out a contact form, or signing up for a newsletter. Knowing which campaigns, ads, or keywords are driving conversions helps you allocate your budget more effectively and increase your return on investment.
1. Setting Up Conversion Tracking
Here's how to get started with Google Ads conversion tracking:
- Access Your Google Ads Account: Sign in to your Google Ads account and click on the 'Tools & Settings' menu.
- Select 'Conversions': Under the 'Measurement' section, find and click on 'Conversions.'
- Create a New Conversion Action: Click on the '+' button to add a new conversion action. Choose the type of conversion you want to track (e.g., purchase, lead).
2. Choose Your Tracking Method
You can track conversions using different methods, including:
- Website Tracking: Place a conversion tracking tag on the conversion confirmation page (e.g., 'Thank You' page).
- Importing Conversions: If you track conversions offline, such as phone calls or in-store visits, you can import those conversions into Google Ads.
- App Tracking: For mobile apps, use Firebase or Google Analytics to track app conversions.
3. Implementing the Conversion Tag
To implement the conversion tracking tag on your website:
- Copy the tag code provided by Google Ads.
- Paste the code in the HTML of the conversion page, preferably just before the closing


